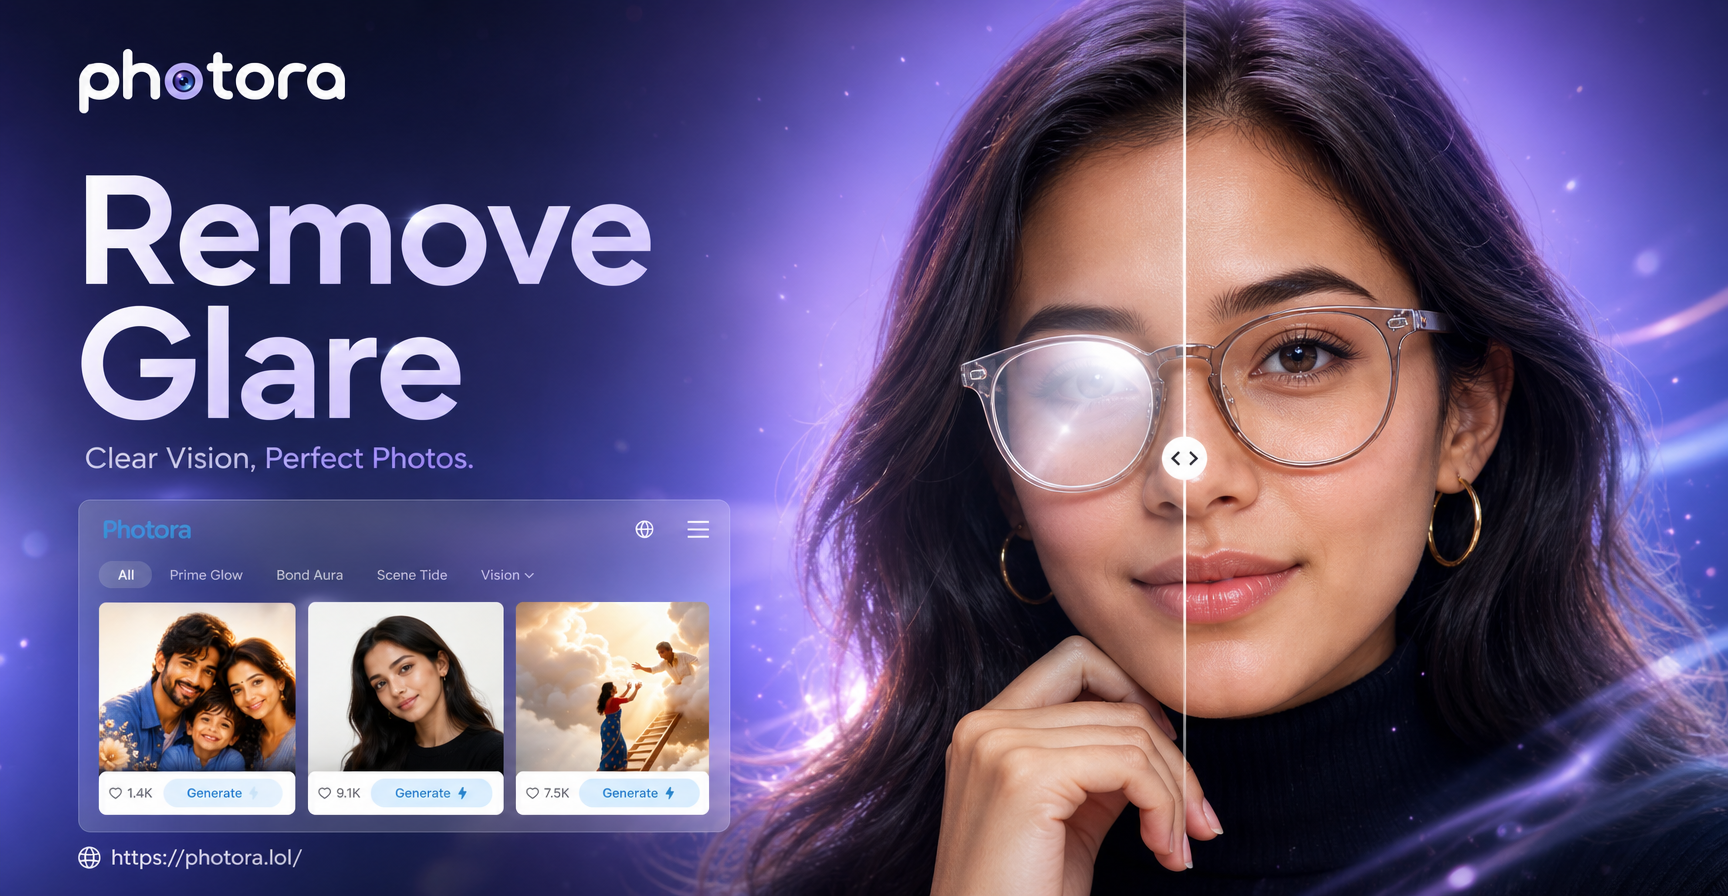
How to Remove Glare From Glasses With AI
To remove glare from glasses with AI, start with the highest-resolution original, then match the edit to the damage. A dedicated AI glare remover is the fastest option when the eyes are still visible beneath a coloured reflection. Use a tightly masked generative fill or inpainting edit when glare has become a bright patch that hides detail. Generate several variations, compare them with the original at 100%, and reject any result that changes the pupils, gaze, eyelids or frame shape. If the source contains no usable eye detail, give the AI a second photo of the same person or use another frame from the shoot.
Choose the AI workflow by glare type
Glare is not one problem. A weak green tint, a window-shaped reflection and a fully white lens contain different amounts of recoverable information. The safest AI workflow depends on what remains visible.
| What you see in the lens | Best AI approach | What the AI should preserve | Main risk |
|---|---|---|---|
| Light colour cast or haze, with the eye visible | Dedicated AI glasses-glare control | Eye detail, natural lens tint, frame edges | Removing every reflection can make the lens look fake |
| Small bright spot over part of the eye | Local AI remove tool or inpainting mask | Uncovered iris, pupil position, eyelid and catchlight | A loose mask can reshape the eye |
| Large white or opaque patch | Generative fill with a reference photo | Identity, gaze direction, eye spacing and frame geometry | The result may contain invented detail |
| Both eyes hidden in a low-resolution image | Reference-led generation or another photo/frame | The same person and expression | A plausible eye is not necessarily the real eye |
| Several people wearing glasses | Person-by-person local edits | Every untouched face and the original composition | Batch editing can change the wrong face |
The crucial distinction is recovery versus reconstruction. When faint eye detail remains, an AI photo editor can suppress the reflection while retaining much of the source. When pixels are clipped to white, generative AI must create missing content. That can still produce a useful family or social photo, but it should be reviewed as a reconstruction rather than treated as recovered evidence.
Prepare the image before the AI edit
Use the original camera file whenever possible. A photo forwarded through WhatsApp or repeatedly saved from social media may already have compression around eyelashes, pupils and thin metal frames. Those are exactly the details the model needs.
Before editing:
- Keep an untouched copy of the original.
- Collect a second photo of the same person from a similar angle if the glare is opaque.
- Crop only enough to make the face easy to inspect; do not discard the full-resolution file.
- Note the real eye colour, gaze direction, frame shape and any asymmetric features.
- Decide whether a small lens reflection should remain. Completely transparent lenses often look less natural than subtly reflective glass.
In a wedding or family group photo, duplicate the image before working on each person. A local edit should affect one pair of lenses at a time, not the entire group.
Workflow A: Use a dedicated AI glare remover
A dedicated control is the quickest path when glare is translucent. Evoto, for example, places a Glasses Glare adjustment under its eye-retouching controls. The interface identifies the affected area and lets the editor vary the strength instead of rebuilding the whole portrait.
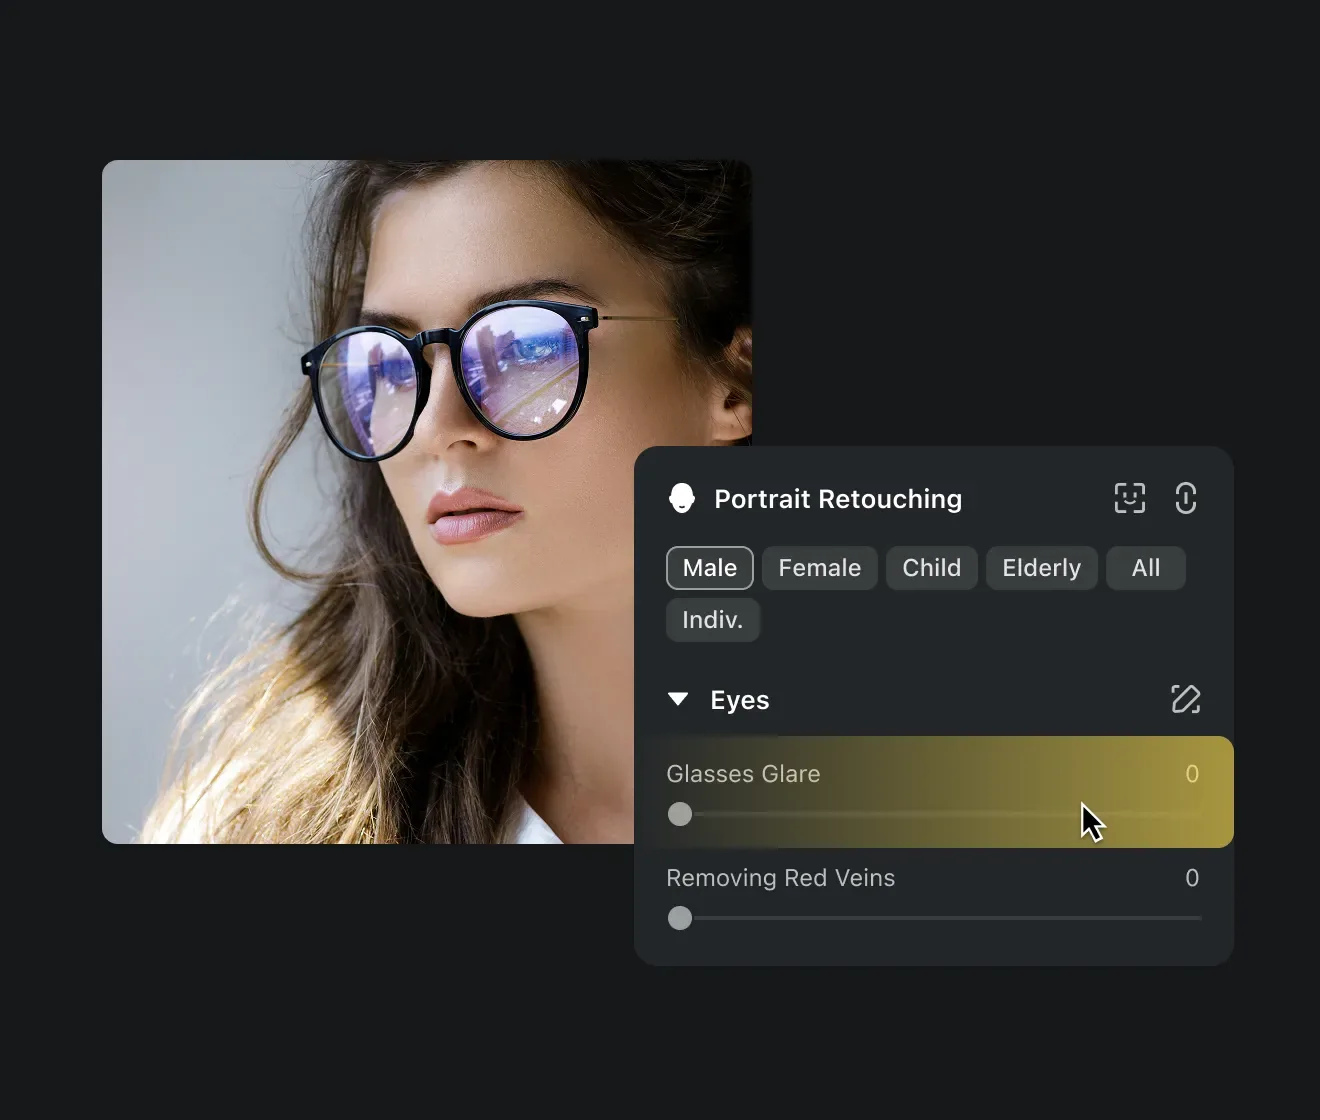
The official Evoto workflow shows a local glasses-glare control inside the portrait editor.
Step 1: Let the tool detect the lenses
Import the original and open the eye or glasses controls. Zoom in before judging the automatic result. A thumbnail can hide a changed iris or a broken frame edge.
Step 2: Start below maximum strength
Increase removal until the eyes become readable, then stop. Keep a faint reflection if it matches the lighting elsewhere in the scene. The goal is not perfectly empty glass; it is a believable lens that no longer blocks the expression.
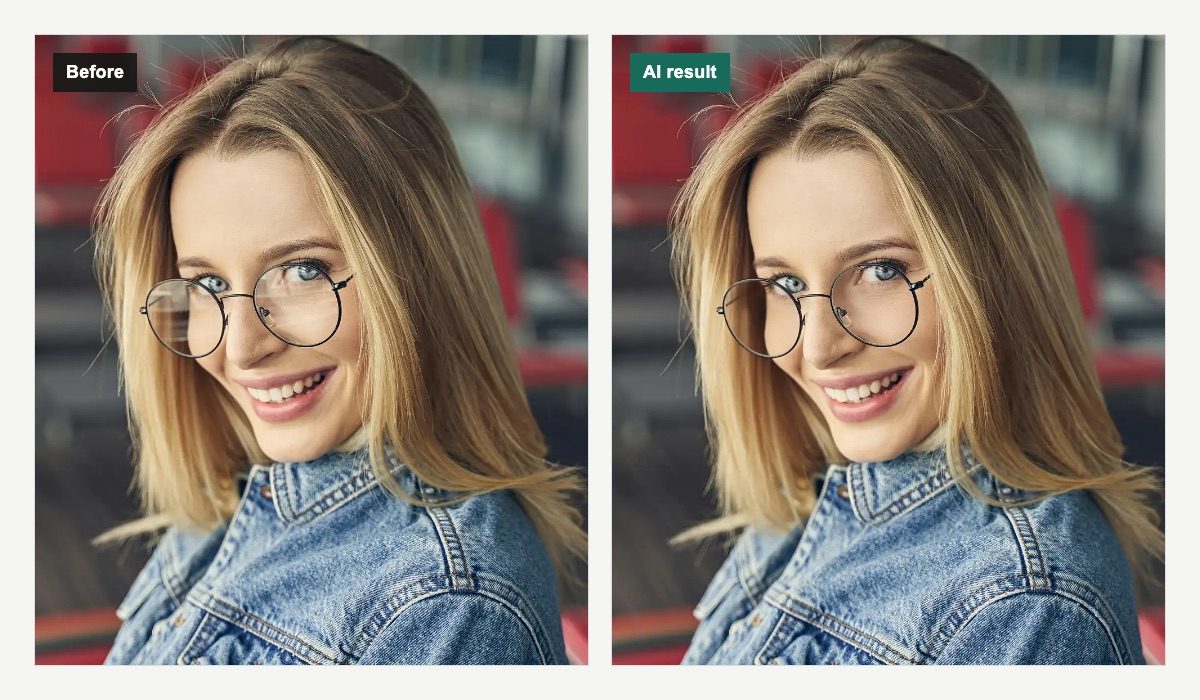
Official Evoto example: the AI reduces the window reflection while retaining the portrait, frame and visible eye.
Step 3: Check both lenses separately
One lens may need more correction than the other. Compare pupil size, iris colour, catchlight direction and the rim of each frame. If a slider causes the eyes to look brighter or sharper than the rest of the face, lower the strength.
Step 4: Export a full-size copy
Save the edit as a new file. Inspect the export rather than relying only on the editor preview, especially if the photo will be printed for a family event, school function or wedding album.
Workflow B: Use generative fill for stubborn glare
Use a masked generative edit when the reflection is too dense for an automatic glare slider. Adobe Firefly and Photoshop Generative Fill are examples of editors that let you paint a selection and generate local variations. The same method applies in any AI image editor with masking, inpainting and reference-image support.
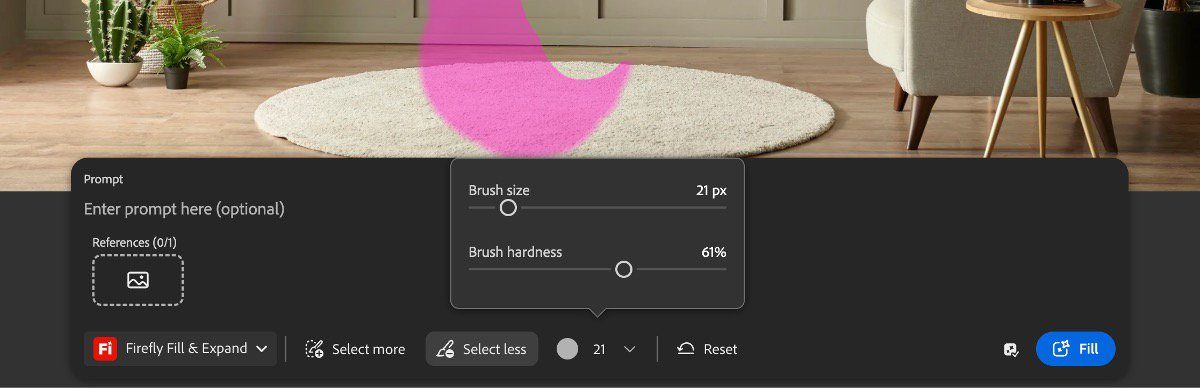
Adobe Firefly's generative fill workspace illustrates the key controls: a local mask, optional reference and multiple generated choices.
Step 1: Mask the reflection, not the whole face
Brush over the glare and include a narrow feathered margin. Keep the mask inside the lens wherever possible. If the mask crosses the eyebrow, cheek or frame, the AI may edit those areas too.
For a reflection that covers only part of the pupil, make a smaller first pass. Expand the mask only if the result leaves a hard edge.
Step 2: Add a reference when information is missing
If the eye is hidden, use a second photo of the same person taken at a similar angle and in similar light. The reference should guide identity; it should not change the pose, expression or composition of the main image.
Step 3: Generate several restrained variations
Ask for correction, not beautification. Avoid words such as perfect eyes, glamorous or symmetrical. They encourage identity drift. Keep the request literal and include the features that must remain unchanged.
Step 4: Compare the variations with the original
Choose the least invasive usable result, even if another variation looks more polished. A strong edit can remove the glare yet quietly alter the gaze, iris size or bridge of the glasses.
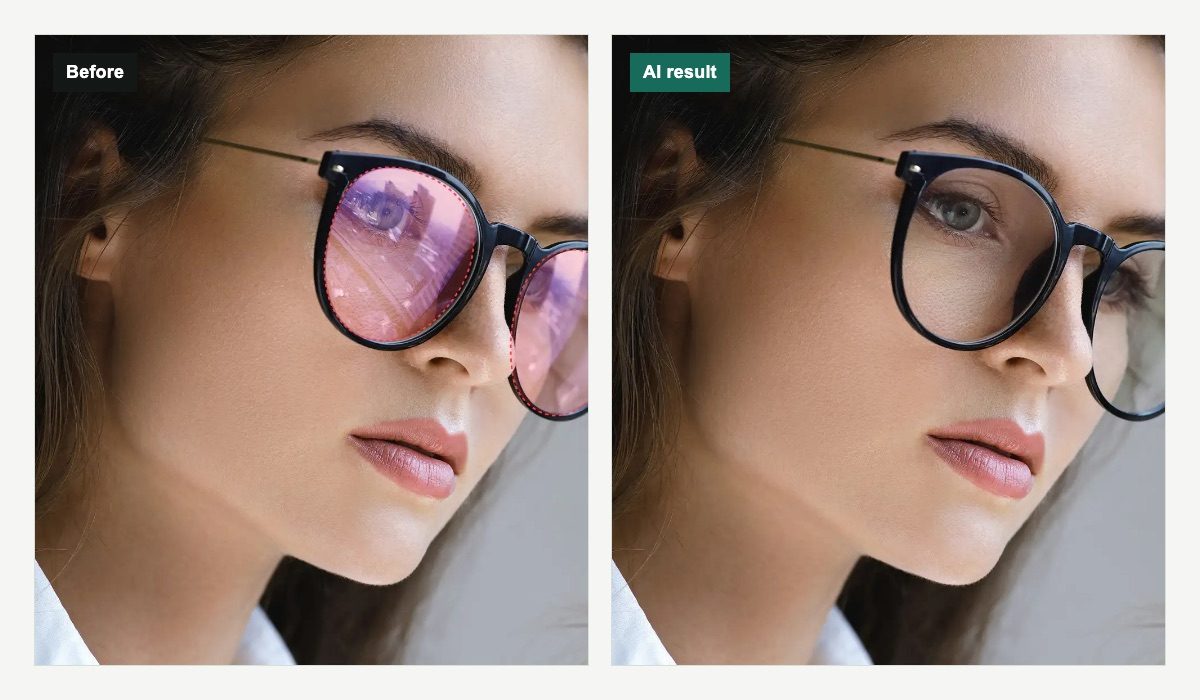
Official Evoto example: dense coloured reflections are removed, but the result still needs an identity and frame check at full size.
Copy-ready AI editing prompts
Use these prompts only after making a precise lens mask. Prompts do not replace a good selection.
Prompt for mild glare on one lens
Reduce only the glare inside the selected eyeglass lens. Preserve the person's real eye colour, pupil size, gaze direction, eyelid shape, eyelashes, skin texture and expression. Keep the exact frame shape and position. Retain a subtle natural lens reflection that matches the scene lighting. Do not edit outside the selection.
Prompt for heavy glare with a reference image
Reconstruct only the eye detail hidden by glare in the selected lens, using the reference photo for this person's identity and eye features. Match the gaze, head angle, lighting and sharpness of the main photo. Preserve the exact glasses frame, nose bridge, face shape, skin tone and expression. Do not beautify, enlarge or recolour the eye. Keep a faint realistic reflection on the lens.
Prompt for a family or group photo
Remove glare only from the selected person's glasses. Keep every face, body, outfit and background element unchanged. Preserve this person's identity, eye spacing, gaze, expression and frame geometry. Match the existing light and image grain. Do not edit any other person.
Retry instruction for a changed eye
Retry the local edit. Restore the original pupil position, iris size, eyelid contour and glasses frame. Reduce only the reflection. Do not change facial proportions, expression, skin texture or anything outside the lens mask.
Review AI results before you keep them
Glare removal succeeds only if the portrait still belongs to the same person. Compare the original and result side by side at 100%, then fit both images to screen to judge the overall expression.
Use this quality check:
- Gaze: Both pupils should point in the same direction as the original.
- Eye shape: Check the upper lid, lower lid, iris diameter and visible white of the eye.
- Identity: Look for smoothing, enlarged eyes or newly symmetrical features.
- Frames: Follow each rim, hinge, nose pad and bridge. Reject warped or missing sections.
- Lens realism: Keep a small, consistent reflection instead of making the glass disappear.
- Lighting: Catchlights and shadows should agree with the rest of the face.
- Edit boundary: Hair, eyebrows, cheeks and background lines must remain unchanged.
- Other people: In a group image, compare every untouched face with the original.
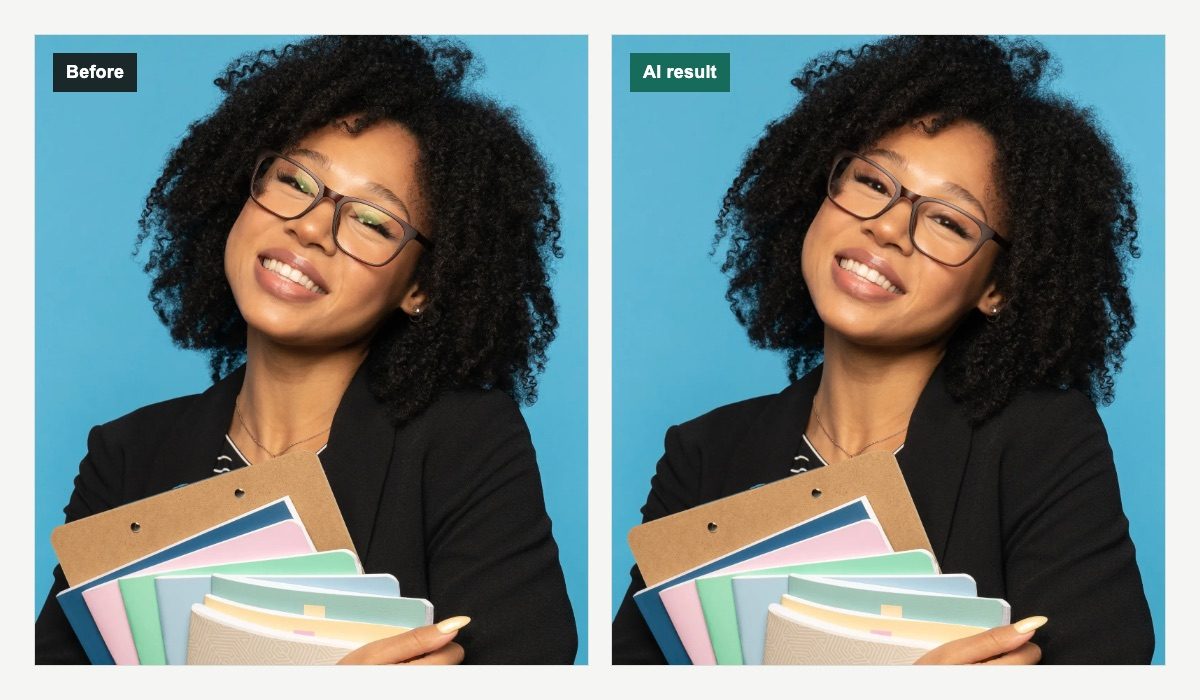
Official EyeQ example: a milder green reflection is reduced. This type of result is best judged by eye detail and lens realism, not by how dramatic the change looks.
When an output looks wrong, shrink the mask, lower the edit strength or add a better reference. Do not keep regenerating with a broad selection: repeated generations can compound identity drift and introduce artifacts outside the lens.
Handle group photos one person at a time
Group images are harder because the model sees several faces, several pairs of eyes and often mixed lighting. Select one lens pair, generate, review, and commit that edit before moving to the next person. This matters for Indian wedding groups, classroom photos and family celebrations where a small change to the wrong face is easy to miss on a phone screen.
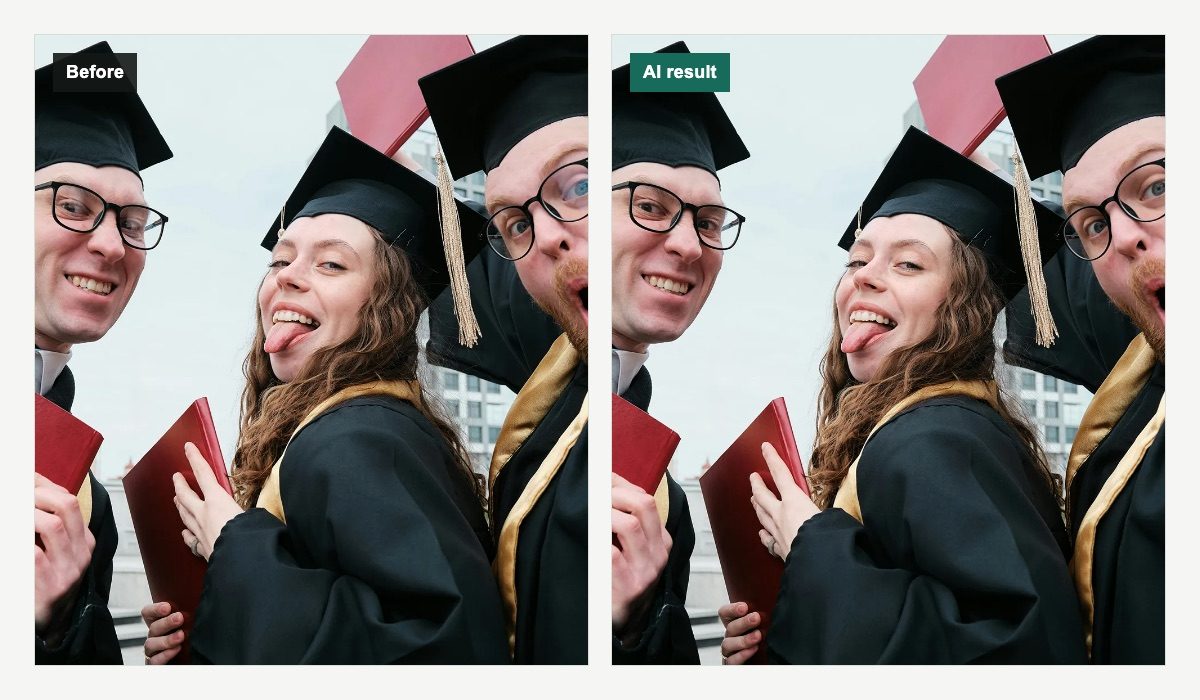
Official Evoto example: a group photo requires separate checks for both people wearing glasses and for the untouched face in the centre.
For a large group, record whose glasses were edited and inspect the final file at full resolution. If the image has been heavily compressed, edit from the original rather than the shared copy.
Know when AI cannot recover the real eye
An opaque white reflection contains no iris, pupil or eyelid detail. In that case, generative fill can create a visually plausible eye, but it cannot know the hidden pixels. A reference photo makes the reconstruction more faithful, yet it remains generated content.
Use another source when accuracy matters more than appearance:
- choose a nearby burst frame with a clear eye;
- use a second portrait from the same session as a reference;
- ask for the original camera file instead of a compressed copy;
- reshoot identity, visa, school or other official photographs under the current issuing authority's rules.
For documentary, legal or evidentiary images, do not replace hidden facial detail with generated content.
A small manual finish can still help
After the AI edit, a tiny edge correction may be useful where the lens meets a dark frame. Limit this to blending a visible boundary or matching local grain. Do not manually paint a new pupil or clone an eye from the other side: mirrored eyes often produce the wrong gaze and lighting.
Frequently asked questions
Can AI completely remove glare from glasses?
AI can often remove translucent glare and reduce strong reflections. If the reflection has erased all eye detail, the tool must generate missing pixels. Use a second photo or another frame when the real eye matters.
What is the best prompt to remove glasses glare?
The best prompt names both the change and the invariants: reduce reflection inside the selected lens; preserve eye colour, pupil size, gaze, eyelids, frame geometry, skin texture, expression and everything outside the mask.
Why did the AI change the person's eyes?
The mask may be too broad, the prompt may invite beautification, or the source may not contain enough eye information. Retry with a smaller lens-only mask and a same-person reference image.
Should I remove every reflection from the lens?
Usually no. A subtle reflection helps the glasses read as real glass and should match the direction and colour of the scene lighting.
Can this workflow be used on phone photos?
Yes, but begin with the original full-resolution phone image. Messaging and social apps may compress fine detail around eyes and frames, making AI reconstruction less reliable.
How should I edit glare in a family or wedding group photo?
Work on one person at a time, keep each mask inside the lenses, and compare every face after each generation. Preserve the original composition, outfits, jewellery and background.
The safest result is the least changed result
Removing glare from glasses with AI is a local restoration task, not a reason to regenerate the portrait. Start with a dedicated AI glare control when the eyes are visible. Move to masked generative fill only for stubborn reflections, use a same-person reference when pixels are missing, and keep the variation that changes the least. The final check is simple: clearer lenses, the same eyes, the same frames and the same person.